Who doesn’t love a rich, velvety chocolate frosting? If you’ve ever had a slice of cake topped with Old Fashioned Fudge Icing, you know exactly what I’m talking about. This icing is everything you could want in a frosting: thick, creamy, and full of chocolatey goodness. Whether you’re frosting a classic chocolate cake, cupcakes, or brownies, this old-fashioned fudge icing will take your dessert to the next level.
In this blog, I’ll show you how to make this delicious, homemade fudge icing step by step, so you can create a frosting that’s sure to impress. Not only is it rich and creamy, but it’s also super easy to make. No fancy tools or ingredients required. Just a few simple ingredients, a little time, and you’ll have the best fudge icing you’ve ever tasted!
Why You’ll Love Old Fashioned Fudge Icing
There are so many reasons to love Old Fashioned Fudge Icing:
- Rich and Decadent: This frosting is full of rich chocolate flavor, making it the perfect topping for any dessert that needs an extra indulgent touch.
- Creamy Texture: The smooth and creamy texture of this icing is perfect for spreading on cakes or cupcakes. It’s not too runny or too stiff—it’s just right.
- Nostalgic Flavor: If you grew up enjoying homemade fudge icing, you know it has that special nostalgic flavor. It’s simple, comforting, and always delicious.
- Versatile: You can use it on almost any dessert. Whether it’s a chocolate cake, a simple vanilla cake, or even a batch of brownies, this fudge icing will make it better.
- No Fancy Ingredients: You don’t need any exotic or hard-to-find ingredients. Just basic pantry staples are all you need to create this classic frosting.
Now, let’s dive into the ingredients and the steps to make this fabulous fudge icing that will turn your homemade treats into something extraordinary.

What You’ll Need for Old Fashioned Fudge Icing
Before we begin, let’s gather everything we’ll need to make this delicious fudge icing. Don’t worry—these ingredients are simple and easy to find in any kitchen.
Ingredients:
- 1/2 cup (115g) unsalted butter, softened
- 1/4 cup (60ml) whole milk (you can also use heavy cream for a richer texture)
- 1 1/2 cups (190g) powdered sugar (also called confectioners’ sugar)
- 1/2 cup (50g) unsweetened cocoa powder (for that deep chocolate flavor)
- 1 teaspoon vanilla extract (for a hint of sweetness)
- Pinch of salt (to balance out the sweetness)
How to Make Old Fashioned Fudge Icing
Now, let’s get into the step-by-step process of making this rich, chocolatey frosting. Don’t worry—it’s really easy to make. Just follow these simple steps, and you’ll have the most amazing fudge icing in no time.
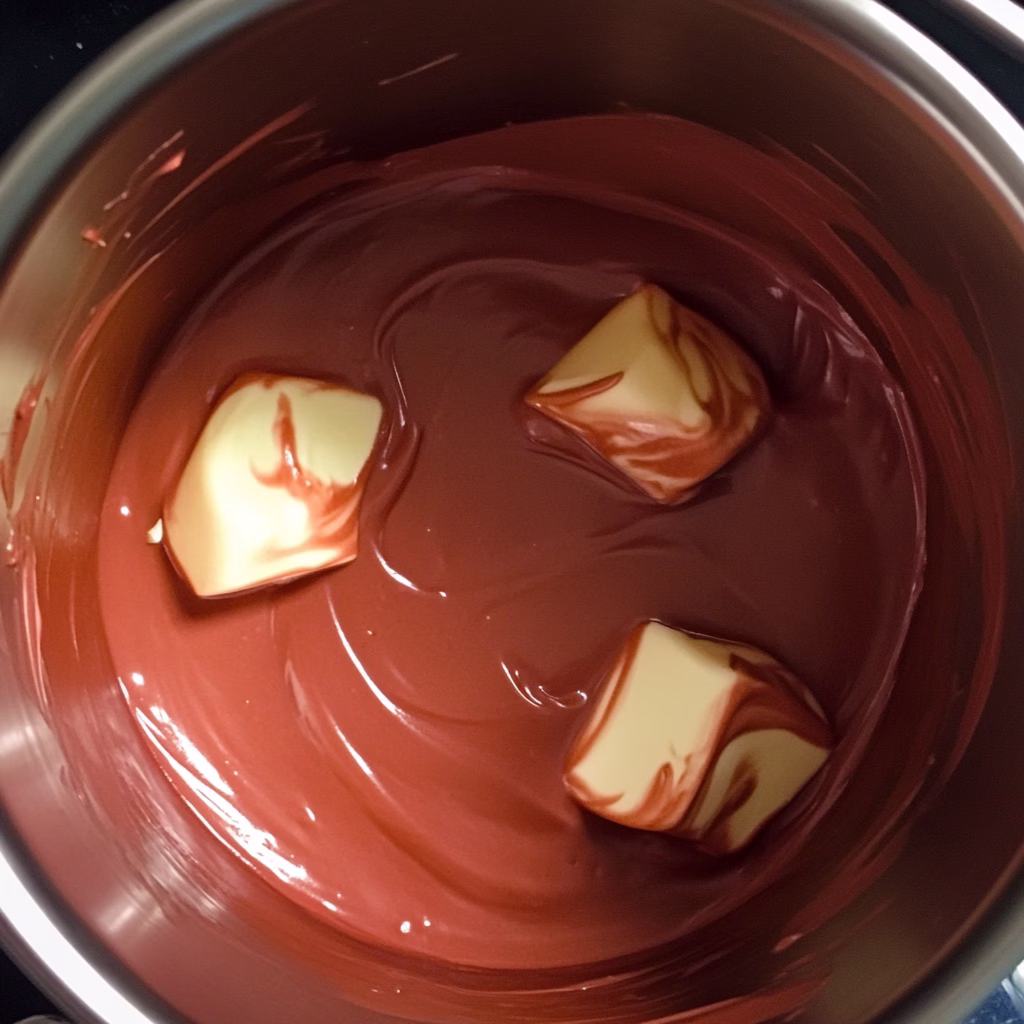
Step 1: Melt the Butter and Milk
Start by melting the butter and milk together. This creates the base of your fudge icing, giving it a smooth and silky texture.
- In a medium saucepan, combine the softened butter and whole milk. Place the pan over medium heat.
- Stir occasionally until the butter has melted completely and the mixture begins to bubble slightly around the edges.
- Once it’s fully melted and bubbling, remove the pan from the heat.
Step 2: Add the Cocoa Powder
The next step is to add the cocoa powder to the melted butter and milk mixture. This will give the icing its rich chocolate flavor.
- Sift the cocoa powder into the saucepan to avoid any lumps.
- Whisk the mixture together until it’s smooth and fully combined. You should have a nice, thick chocolate mixture at this point.
Step 3: Add Powdered Sugar and Vanilla
Now it’s time to make the icing sweet and creamy. The powdered sugar will give it that perfect texture, and the vanilla extract will add a lovely depth of flavor.
- Gradually add the powdered sugar to the chocolate mixture, whisking it in slowly. Be careful not to add it all at once, as it can cause the mixture to become lumpy.
- Continue whisking until the sugar is fully incorporated, and the mixture is smooth.
- Stir in the vanilla extract, and give the frosting one final whisk.
Step 4: Add a Pinch of Salt
To balance out the sweetness and bring out the chocolate flavor, add a pinch of salt. It might sound strange, but salt actually enhances the taste of chocolate and helps cut through the sweetness.
- Stir the salt into the icing mixture, making sure it’s well blended.
Step 5: Cool the Icing
Now comes the waiting part: cooling the fudge icing. This is an important step, as the icing needs to thicken before you can spread it on your cake.
- Allow the icing to cool at room temperature for about 10-15 minutes. It should be slightly warm when you spread it on your cake, but not hot.
- If the icing is too thick, you can add a little more milk (a teaspoon at a time) to reach your desired consistency.
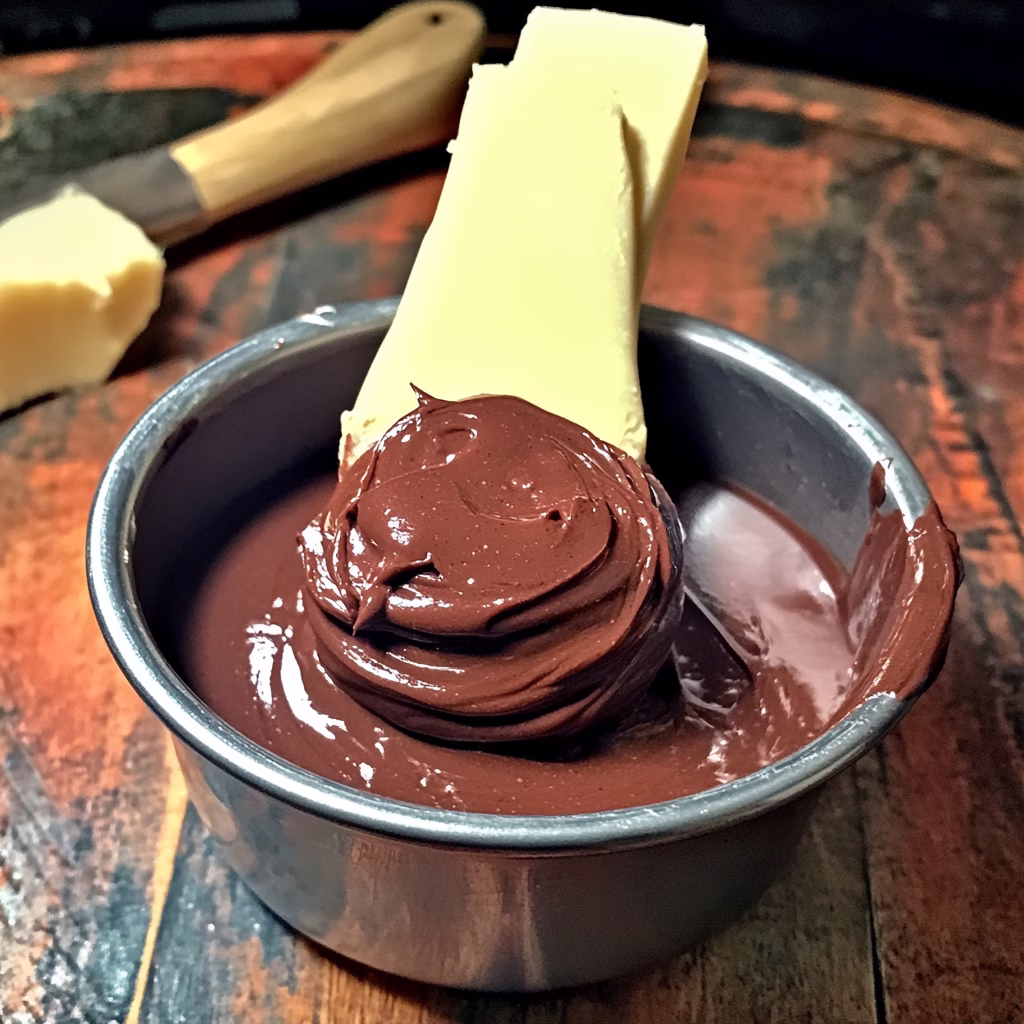
Step 6: Frost Your Cake
Once the icing has cooled to the right consistency, it’s time to frost your cake or cupcakes. This icing is perfect for spreading because it’s smooth and creamy, but not too runny.
- Use a spatula or butter knife to spread the fudge icing over your cake or cupcakes. If you’re frosting a cake, make sure to spread the icing evenly on top and around the sides.
- For a decorative touch, you can use a piping bag to add extra details, or simply spread it generously for a more rustic look.
Step 7: Let the Icing Set
Once your cake or cupcakes are frosted, let the icing set for a bit. It will firm up slightly, but it will still stay soft and creamy.
- Allow the cake to sit for at least 30 minutes before serving. This gives the icing time to set and makes it easier to slice.
Tips for the Best Old Fashioned Fudge Icing
Here are a few extra tips to ensure your fudge icing turns out perfect every time:
- Sift the cocoa powder: Sifting the cocoa powder before adding it to the saucepan ensures that there are no lumps in your icing. This helps the icing stay smooth and creamy.
- Adjust the milk: If the icing is too thick, you can always add a little more milk to loosen it up. Add a teaspoon at a time until you get the right consistency.
- Let it cool slightly: Let the icing cool to room temperature before spreading it on your cake. If it’s too hot, it may melt the cake or cupcakes.
- Use a spatula for smooth spreading: If you want a smooth, even layer of icing, use an offset spatula. It helps spread the icing evenly and gives it a professional-looking finish.
- Customize the flavor: You can make this fudge icing your own by adding different flavorings. Try adding a splash of coffee for a mocha flavor, or a little cinnamon for a spiced twist.
- Top with extras: Once the icing is on the cake, you can add toppings like chocolate chips, crushed nuts, or sprinkles for an extra special touch.
Why You’ll Love This Old Fashioned Fudge Icing
This old-fashioned fudge icing is everything you could want in a frosting. It’s rich, creamy, and packed with chocolate flavor. It’s the perfect way to elevate any dessert, whether you’re making a simple cake or something more extravagant.
The best part is how easy it is to make. With just a few simple ingredients, you can create a frosting that’s better than anything you’ll find in a store. Plus, it’s incredibly versatile. You can use it on any cake, cupcakes, brownies, or even ice cream for an extra chocolatey treat.
Whether you’re celebrating a special occasion or just treating yourself to something sweet, this fudge icing will never disappoint. It’s the kind of frosting that brings back memories of homemade cakes, family gatherings, and special celebrations.
Final Thoughts
Making Old Fashioned Fudge Icing is a great way to add a personal touch to your cakes and desserts. It’s a simple yet indulgent frosting that everyone will love. Whether you’re baking for a party, a holiday, or just because, this fudge icing will be a hit every time.
So go ahead, give this recipe a try, and let the rich, chocolatey goodness take your baking to the next level. Enjoy!

Old Fashioned Fudge Icing
Ingredients
- 1/2 cup 115g unsalted butter, softened
- 1/4 cup 60ml whole milk (or heavy cream for a richer texture)
- 1 1/2 cups 190g powdered sugar (confectioners’ sugar)
- 1/2 cup 50g unsweetened cocoa powder
- 1 teaspoon vanilla extract
- Pinch of salt
Instructions
- Melt the butter and milk: In a medium saucepan, combine the softened butter and whole milk. Place over medium heat and stir until the butter melts and the mixture begins to bubble slightly. Remove from heat.
- Add the cocoa powder: Sift the cocoa powder into the saucepan and whisk until the mixture is smooth and thickened.
- Add powdered sugar and vanilla: Gradually add powdered sugar, whisking until fully incorporated and smooth. Stir in the vanilla extract.
- Add a pinch of salt: Stir in the salt to balance the sweetness and enhance the chocolate flavor.
- Cool the icing: Let the icing cool for 10-15 minutes at room temperature, stirring occasionally to thicken.
- Frost your cake: Once the icing has cooled to a spreadable consistency, use a spatula to spread it generously over your cake, cupcakes, or brownies.
- Let the icing set: Allow the frosting to set for at least 30 minutes before serving for the best texture and ease of slicing.
Notes
- For smoother icing, sift the cocoa powder before adding it to the saucepan.
- Adjust the milk to make the icing the perfect consistency for your needs.
- If it thickens too much, add a little more milk, a teaspoon at a time, to loosen it up.
- Customize with different flavorings or toppings like chocolate chips or crushed nuts.