I’ve got to tell you, I never thought soda and ice cream could be best friends—until I discovered Dr. Pepper Ice Cream. One spoonful and I was hooked: sweet, creamy vanilla meets that unique blend of 23 Dr. Pepper flavors for a treat that’s fizzy, fruity, and oh-so-smooth. This no-churn ice cream is surprisingly easy to make at home. You don’t need an ice cream machine or any fancy tools—just a few simple ingredients, a mixing bowl, and a freezer. I promise you’ll feel like a kid again with every scoop.
In this post, I’ll walk you through everything: exactly what you’ll need, step-by-step instructions, my top tips for perfect texture, creative flavor twists, ideas for serving and storing, answers to your common questions, even a bit of history about this delightful combo. I’ll keep the language super simple, and I’ll talk to you like a friend in my own kitchen. Ready to chill? Let’s dive in.
What You’ll Need to Make Dr. Pepper Ice Cream
Gather these ingredients and tools before you start. You probably have most of them already.
Ingredients
- 2 cups heavy whipping cream – This makes the ice cream luxuriously creamy.
- 1 can (14 ounces) sweetened condensed milk – Adds sweetness and helps keep your ice cream scoopable.
- 1 teaspoon pure vanilla extract – Brings out all the flavors and adds a warm aroma.
- 1 cup Dr. Pepper – The star of the show. Use well-chilled soda for best results.
- Optional mix-ins: chopped cherries, mini chocolate chips, or crushed cookies.
Tools
- Large mixing bowl or stand mixer bowl
- Electric mixer (handheld or stand mixer)
- Rubber spatula for folding
- 9×5-inch loaf pan or similar freezer-safe container
- Plastic wrap or lid to cover
That’s it! No ice cream maker needed. If you don’t have an electric mixer, a strong whisk and some elbow grease will do.
How to Make Dr. Pepper Ice Cream
I break it down into three simple stages: whip, fold, freeze. Follow these steps and you’ll be scooping in under 10 minutes!
1. Chill Everything
First, pop your mixing bowl and beaters into the freezer for about 10 minutes. Cold tools help the cream whip up faster and fluffier. While they chill, grab your other ingredients so you’re ready to go.
2. Whip the Cream
- Pour 2 cups heavy whipping cream into your chilled bowl.
- Using your electric mixer, start on low speed, then raise to medium-high.
- Whip until you see soft peaks—when you lift the beaters, the cream holds its shape but the tip gently folds over.
Soft peaks mean your ice cream will be light and airy. If you whip too far to stiff peaks, your final texture can be icy, so keep a close eye.
3. Combine Condensed Milk and Soda
- In a separate bowl, gently whisk together the sweetened condensed milk, 1 cup Dr. Pepper, and 1 teaspoon vanilla extract.
- Make sure you don’t stir too hard. You want to keep some of the soda’s carbonation to give a subtle fizz inside the ice cream.
4. Fold Cream Into Soda Mixture
- Pour about one-third of the whipped cream into the soda mixture.
- Use a rubber spatula to fold gently—lift from the bottom and fold over—until it’s mostly combined.
- Add the remaining whipped cream in two batches, folding gently each time until you have a uniform, fluffy ice cream base.
Folding keeps your ice cream light. No deflating!
5. Add Mix-Ins (Optional)
If you want extra bursts of flavor, now’s the time to stir in up to ½ cup of chopped maraschino cherries, mini chocolate chips, or crushed vanilla cookies. I love cherries for a Shirley Temple vibe, but you do you.
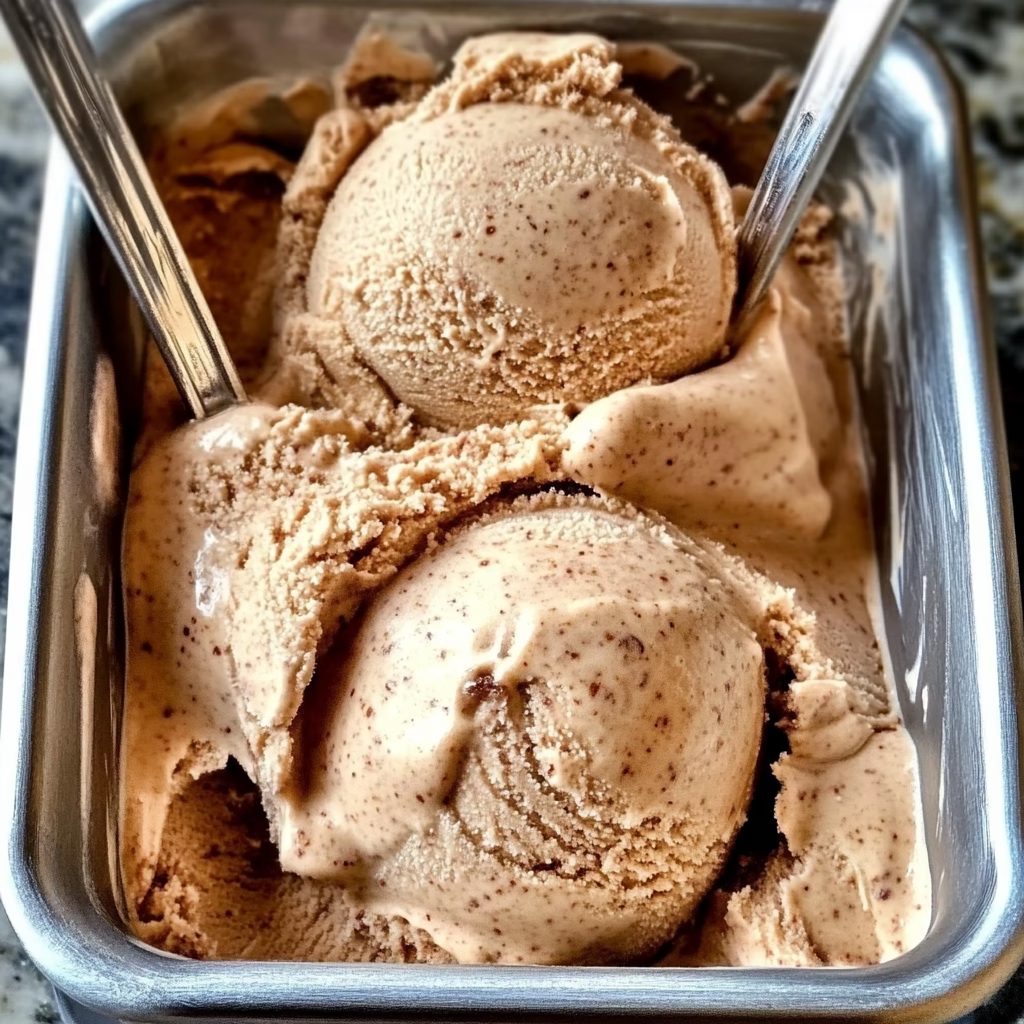
6. Freeze Until Firm
- Pour the mixture into your prepared loaf pan or container.
- Smooth the top with your spatula.
- Cover with plastic wrap or a lid, pressing the wrap right onto the surface to prevent ice crystals.
- Freeze for at least 6 hours, or ideally overnight.
When it’s firm to the touch, your Dr. Pepper Ice Cream is ready for its debut.
My Top Tips for Perfect Dr. Pepper Ice Cream
I’ve made this ice cream more times than I can count. Here are my best secrets:
Keep It Cold
Use chilled cream, bowl, and beaters. Warm tools slow whipping and lead to grainy texture.
Don’t Overmix
Stop whipping the cream at soft peaks. And when you fold, be gentle. Overmixing kills air and makes the ice cream dense.
Preserve the Fizz
Gently stir in your soda so you keep some carbonation. It gives a light, fun sparkle in each bite.
More Recipes:
- Delightful Raspberry Swirl Shortbread Cookies You’ll Want to Bake Every Weekend!
- One Pan Cajun Dirty Orzo You’ll Keep Coming Back To!
- Lemon Vinaigrette Recipe: A Little Jar of Sunshine for Your Salad
- Healthy Greek Chicken Bowls That Taste Like a Vacation
- Brown Sugar Shaken Espresso Overnight Oats You’ll Dream About
- Country Fried Chicken 🍗✨: Crispy, Juicy, and Absolutely Worth the Mess
- Grilled Chicken and Broccoli Bowls: Creamy, Cozy, and Packed with Flavor
Prevent Ice Crystals
Press plastic wrap onto the ice cream surface before freezing. This keeps the top smooth and creamy.
Let It Soften Slightly Before Serving
Pull the ice cream out of the freezer 5–10 minutes before scooping. It softens just enough for perfect scoops without melting too fast.
Fun Variations You Can Try
Feel free to get creative! Here are some of my favorite twists:
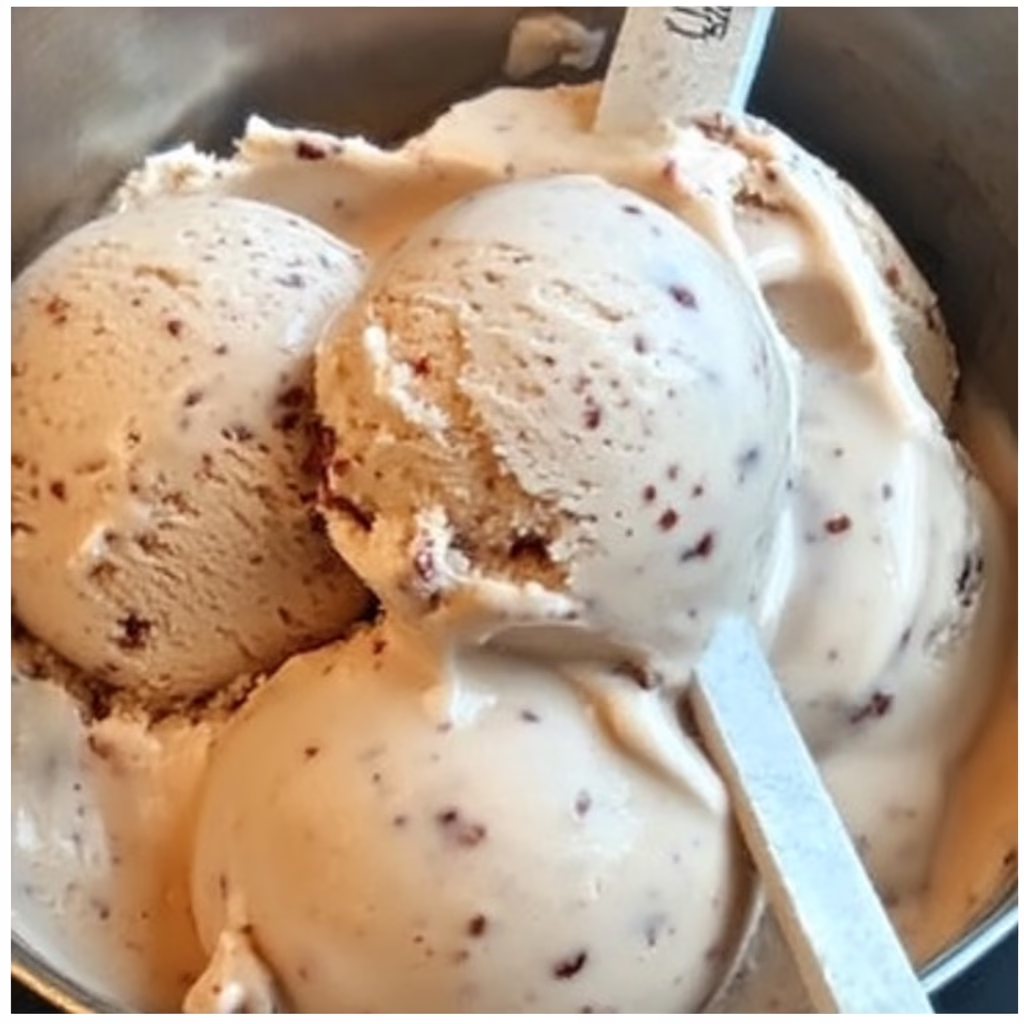
Cherry-Dr. Pepper Swirl
Layer sliced maraschino cherries and ice cream in your container. As you scoop, you’ll get a pretty swirl of pink and white.
Chocolate-Dr. Pepper Fudge
Drizzle homemade or store-bought chocolate fudge sauce into the ice cream before freezing. The contrast of rich chocolate and soda is incredible.
Vanilla Bean Boost
Split a vanilla bean and scrape in the seeds when you add vanilla extract. You’ll see little black specks and taste extra vanilla richness.
Boozy Adult Version
Stir in 1–2 tablespoons of bourbon or spiced rum with the condensed milk and soda. The alcohol keeps it scoopable and adds warm notes.
Root Beer Remix
Swap Dr. Pepper for root beer to make a classic root beer float ice cream. It’s a fun twist on this method.
How to Serve and Store Your Ice Cream
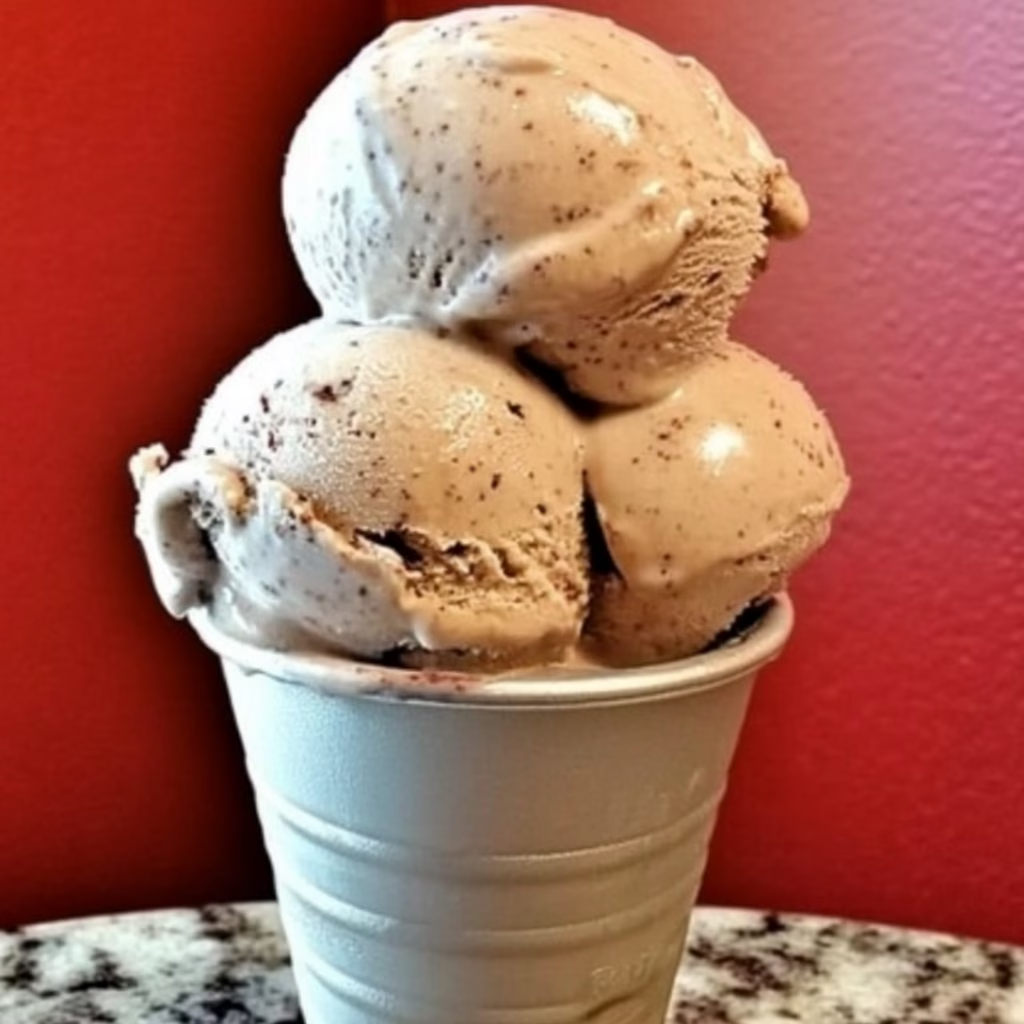
Serving Suggestions
- In cones or bowls with a drizzle of caramel sauce or a sprinkle of nuts.
- As a float: scoop into a glass and top with extra Dr. Pepper. Instant retro float!
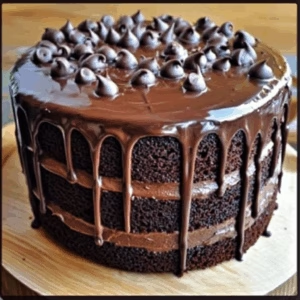
- With pie or cake: a slice of warm chocolate cake and Dr. Pepper Ice Cream = heavenly.
Storage Tips
- Keep covered: always press plastic wrap onto the ice cream surface to avoid freezer burn.
- Freeze flat: store your container in the coldest part of your freezer.
- Use within 2 weeks: it stays best-tasting and creamy for up to two weeks.
FAQs About Dr. Pepper Ice Cream
Can I Make This Dairy-Free?
Yes! Use full-fat coconut cream instead of whipping cream, and a dairy-free condensed milk substitute. The texture will be slightly richer and coconut-flavored, but still delicious.
Why Didn’t My Ice Cream Whip Up?
Your cream or tools were probably too warm. Chill everything well and try again. Also, make sure your cream is labeled “whipping” or “heavy whipping”—lighter creams won’t hold peaks.
What If My Ice Cream Is Too Hard?
Next time, add a tablespoon of vodka or another neutral spirit. Alcohol doesn’t freeze and helps keep the ice cream perfectly scoopable.
Can I Use Diet Dr. Pepper?
I don’t recommend it. Artificial sweeteners can sometimes lead to icy textures. Stick with regular Dr. Pepper for the best creamy result.
How Can I Tell If It’s Fully Set?
Press the top gently—if it feels firm and doesn’t give much under your finger, it’s ready. If it still feels loose, give it a few more hours.
A Little History of Soda-Flavored Ice Cream
Believe it or not, soda-flavored ice creams date back to the early 1900s, when soda fountains were neighborhood hotspots. Ice cream soda floats were all the rage—pour soda over ice cream, grab a spoon and straw, and enjoy. Over time, home cooks figured out that mixing soda into the ice cream base itself created a consistently fizz-kissed frozen treat. Dr. Pepper, with its unique blend of 23 flavors, quickly became a favorite. Today, we’re simply bringing that old-fashioned soda fountain magic into our own freezers.
Final Thoughts: Chill, Scoop, and Smile
There you have it—my easy, no-churn Dr. Pepper Ice Cream that’s creamy, fizzy, and totally fun to make. I love how simple this recipe is, yet how impressive it tastes. You’ll surprise your friends, delight your family, and feel like an ice cream pro without breaking a sweat.
So gather your ingredients, whip up the cream, fold in that fizzy soda, and freeze away. And don’t forget to share a scoop or two with someone you love—it’s the perfect way to make hot days cooler and create sweet memories. Enjoy!

Dr. Pepper Ice Cream (No-Churn)
Ingredients
- 2 cups heavy whipping cream chilled
- 1 can 14 oz sweetened condensed milk
- 1 teaspoon pure vanilla extract
- 1 cup cold Dr. Pepper
- Optional mix-ins: chopped maraschino cherries mini chocolate chips, or crushed cookies
Instructions
- Chill your mixing bowl and beaters for 10 minutes in the freezer. This helps the cream whip faster and fluffier.
- Whip the cold heavy cream in the chilled bowl on medium-high speed until soft peaks form. It should hold its shape but fold slightly at the tip.
- In a separate bowl, gently whisk together sweetened condensed milk, Dr. Pepper, and vanilla extract. Stir slowly to preserve carbonation.
- Fold a third of the whipped cream into the soda mixture using a rubber spatula, lifting and folding gently. Repeat with the rest of the whipped cream in two more additions.
- Stir in any optional mix-ins like chopped cherries or chocolate chips at this point.
- Pour the finished ice cream mixture into a loaf pan or freezer-safe container. Smooth the top and cover with plastic wrap, pressing it directly onto the surface.
- Freeze for at least 6 hours or overnight until firm and scoopable.
Notes
- Chill is key: Cold tools and cream whip better and help texture.
- Don’t overwhip: Stop at soft peaks to avoid icy texture.
- Fizzy twist: Stir gently to preserve soda bubbles for a light texture.
- Serving tip: Let sit 5–10 minutes at room temp before scooping.
- Variations: Add swirls of fudge, cherry pieces, or even a splash of bourbon for a fun twist.