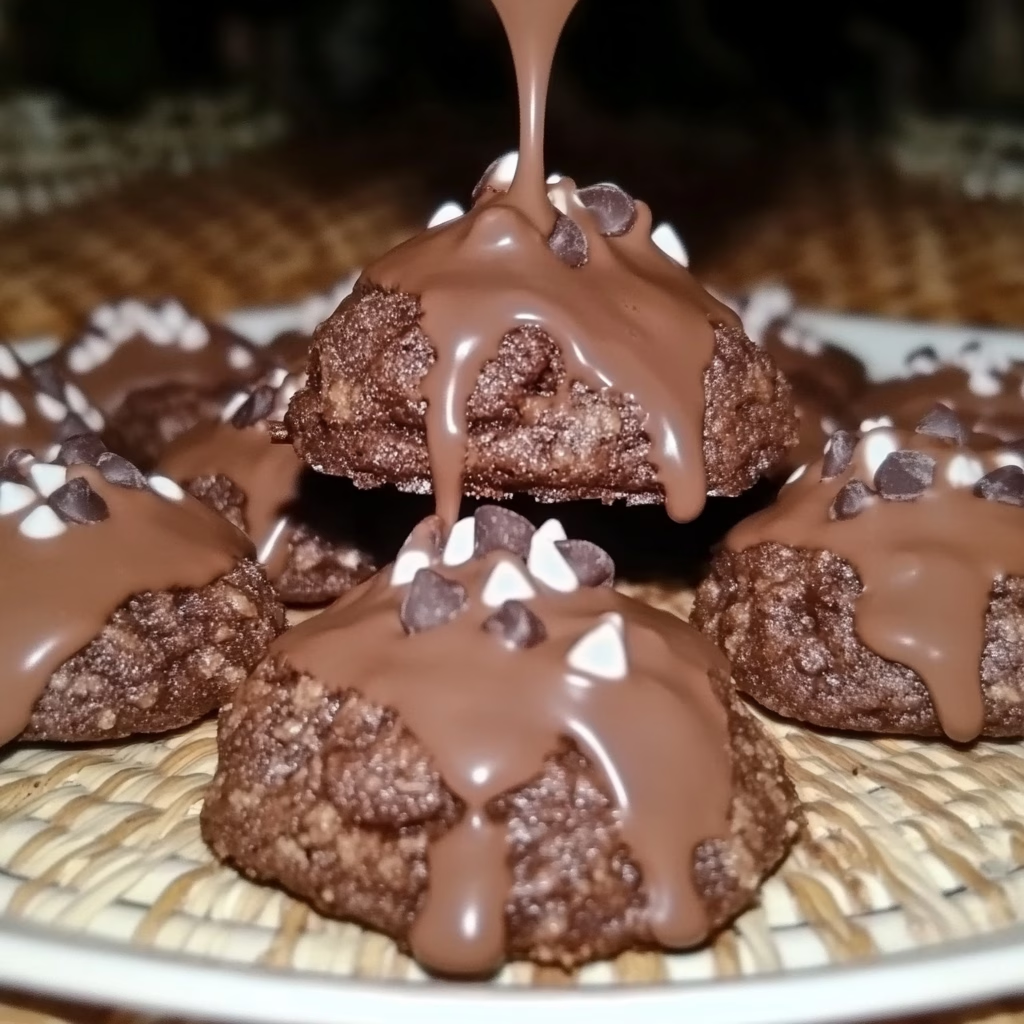
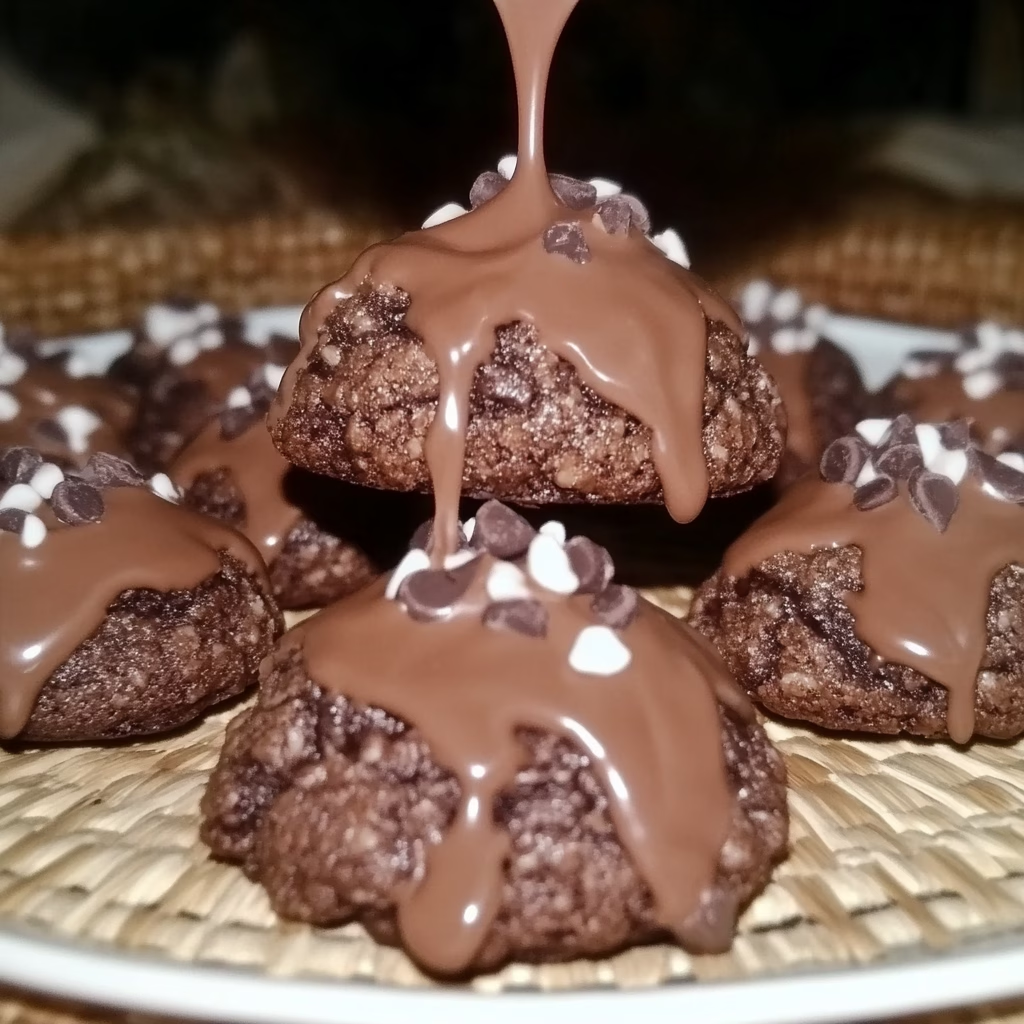
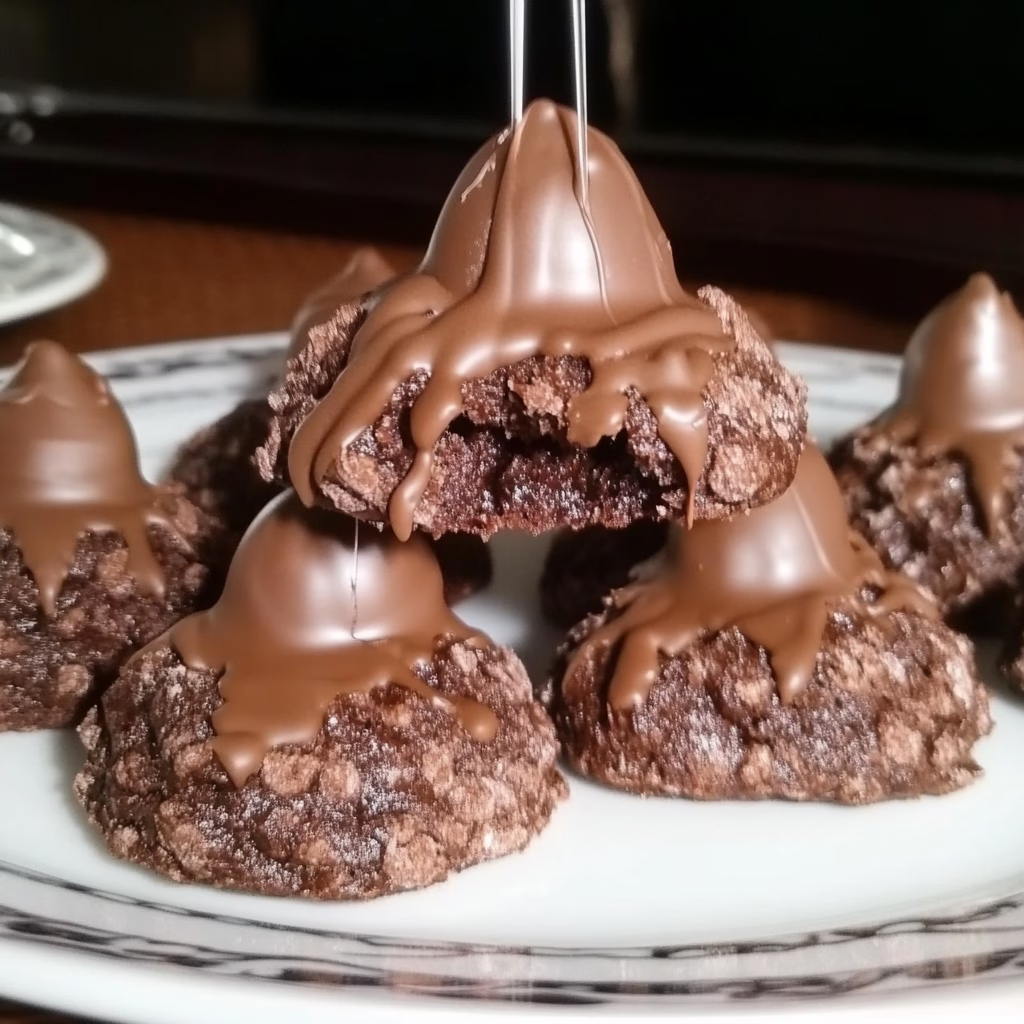
These Chocolate Kiss Cookies are a total crowd-pleaser and one of my favorite treats to bake with my kids. Every bite is soft, chewy, and chocolatey, with a sweet surprise on top. The classic Hershey’s Kiss in the center is what makes these cookies so fun and festive! Perfect for holidays, special occasions, or just because you’re craving something delicious. 💖🍪
Whenever I make these, my house smells like chocolate heaven, and they’re always gone in minutes. The combination of the melt-in-your-mouth cookie and the chocolatey kiss is irresistible. Plus, they’re so easy to make! No need to chill the dough—just mix, scoop, bake, and add the Kisses.
Why You’ll Love Chocolate Kiss Cookies
These cookies are the perfect mix of soft, chewy, and chocolaty goodness. They’re so simple to make but always impress anyone who tries them. With the classic Hershey’s Kiss on top, they look as adorable as they taste, and they’re great for any time of year—whether it’s Christmas, Valentine’s Day, or just a regular cookie craving! 🍪💖
What You’ll Need to Make Chocolate Kiss Cookies
- 1 cup unsalted butter, softened
- 1 cup sugar
- 1 large egg
- 1 tsp vanilla extract
- 1 1/2 cups all-purpose flour
- 1/2 cup unsweetened cocoa powder
- 1/2 tsp baking soda
- 1/4 tsp salt
- 1/2 cup powdered sugar (for rolling the dough)
- 24 Hershey’s Kisses (unwrapped)
How to Make Chocolate Kiss Cookies
- Preheat the Oven: Preheat your oven to 350°F (175°C). Line a baking sheet with parchment paper or a silicone baking mat.
- Make the Dough: In a large bowl, cream together the softened butter and sugar until light and fluffy. Beat in the egg and vanilla extract until well combined. In another bowl, whisk together the flour, cocoa powder, baking soda, and salt. Gradually add the dry ingredients to the wet ingredients, mixing until combined.
- Shape the Cookies: Roll the dough into 1-inch balls, then roll each ball in powdered sugar to coat. Place the dough balls onto the prepared baking sheet, spacing them about 2 inches apart.
- Bake: Bake for 8-10 minutes, or until the edges of the cookies are firm but the centers are still soft.
- Add the Hershey’s Kisses: Remove the cookies from the oven and immediately press a Hershey’s Kiss into the center of each cookie while they’re still warm. Let the cookies cool on the baking sheet for a few minutes, then transfer them to a wire rack to cool completely.
- Serve and Enjoy: Once cooled, enjoy these soft, chocolaty cookies with a surprise Kiss in the center! Perfect for sharing or just enjoying with a glass of milk. 🍪🥛
More Relative Recipes:
- Harry Potter Pumpkin Juice Recipe – A Magical Fall Drink
- Jalapeño Popper Cheese Ball
- Creamy Reuben Soup
- Butternut Squash Sausage Tortellini Soup
- Strawberry Shortcake Ice Cream Bars
Fun Variations
You can switch things up by using different flavors of Hershey’s Kisses, like caramel, almond, or even peanut butter! For an extra touch, roll the dough in colorful sprinkles instead of powdered sugar. You can also add a little bit of cinnamon or peppermint extract to the dough for a fun seasonal twist.
Ideal for Parties and Holidays
These Chocolate Kiss Cookies are great for parties, family gatherings, or holiday baking. They’re simple to make, and they always look adorable with the Hershey’s Kiss on top. Whether it’s Christmas, Valentine’s Day, or a birthday, these cookies are sure to be a hit.
FAQs
- Can I use a different kind of chocolate in these cookies?
Yes! You can use other types of chocolate, like milk chocolate or dark chocolate, for the Hershey’s Kiss. Feel free to try different flavors to mix things up! - Can I make these cookies ahead of time?
Yes, you can make the dough ahead of time and chill it in the fridge for up to 3 days. When you’re ready to bake, just roll the dough into balls and continue with the recipe as usual. - Can I freeze these cookies?
Yes! You can freeze the baked cookies by placing them in an airtight container or freezer bag. They’ll stay fresh for up to 3 months. Just thaw them at room temperature before serving. - Can I make these cookies without the Hershey’s Kisses?
Of course! You can skip the Kisses and make regular chocolate cookies, or press a piece of chocolate into the center instead. - How do I store these cookies?
Store these cookies in an airtight container at room temperature for up to 1 week. They’ll stay soft and delicious!
These Chocolate Kiss Cookies are so easy, so chocolatey, and just perfect for any occasion. I hope you enjoy them as much as my family does! 🍪💋
Chocolate Kiss Cookies 🍪💋
Ingredients
- 1 cup unsalted butter softened
- 1 cup sugar
- 1 large egg
- 1 tsp vanilla extract
- 1 1/2 cups all-purpose flour
- 1/2 cup unsweetened cocoa powder
- 1/2 tsp baking soda
- 1/4 tsp salt
- 1/2 cup powdered sugar for rolling the dough
- 24 Hershey’s Kisses unwrapped
Instructions
- Preheat the Oven: Preheat your oven to 350°F (175°C). Line a baking sheet with parchment paper or a silicone baking mat.
- Make the Dough: In a large bowl, cream together the softened butter and sugar until light and fluffy. Beat in the egg and vanilla extract until well combined. In another bowl, whisk together the flour, cocoa powder, baking soda, and salt. Gradually add the dry ingredients to the wet ingredients, mixing until combined.
- Shape the Cookies: Roll the dough into 1-inch balls, then roll each ball in powdered sugar to coat. Place the dough balls onto the prepared baking sheet, spacing them about 2 inches apart.
- Bake: Bake for 8-10 minutes, or until the edges of the cookies are firm but the centers are still soft.
- Add the Hershey’s Kisses: Remove the cookies from the oven and immediately press a Hershey’s Kiss into the center of each cookie while they’re still warm. Let the cookies cool on the baking sheet for a few minutes, then transfer them to a wire rack to cool completely.
- Serve and Enjoy: Once cooled, enjoy these soft, chocolaty cookies with a Hershey’s Kiss surprise in the center! 🍪🥛
Notes
- These cookies are super easy and quick to make—no chilling required!
- If you’re making these with kids, they’ll love rolling the dough balls in powdered sugar and pressing the Kisses in the centers.



Looks very delicious I am making these for Christmas