I’m going to let you in on a little secret: summer desserts don’t have to heat up your kitchen or take all day to make. This Easy No-Bake Lemon Pie is proof. It comes together in just a few simple steps, uses ingredients you probably already have, and chills into the most refreshing, tangy treat you’ve ever tasted. Whether you need a quick dessert for dinner tonight, a show-stopping dish for a party, or just something bright to lift your spirits, this pie is your new best friend.
In this post, I’ll walk you through everything you need to know—from the exact ingredients and step-by-step instructions, to my best tips for perfect texture, fun ways to jazz it up, and answers to all your burning questions. We’ll keep the language super simple, I’ll talk to you like a friend, and by the end, you’ll be ready to whip up an Easy No-Bake Lemon Pie like a pro.
Why You’ll Fall in Love with This Pie
Zesty, Creamy, and Effortless
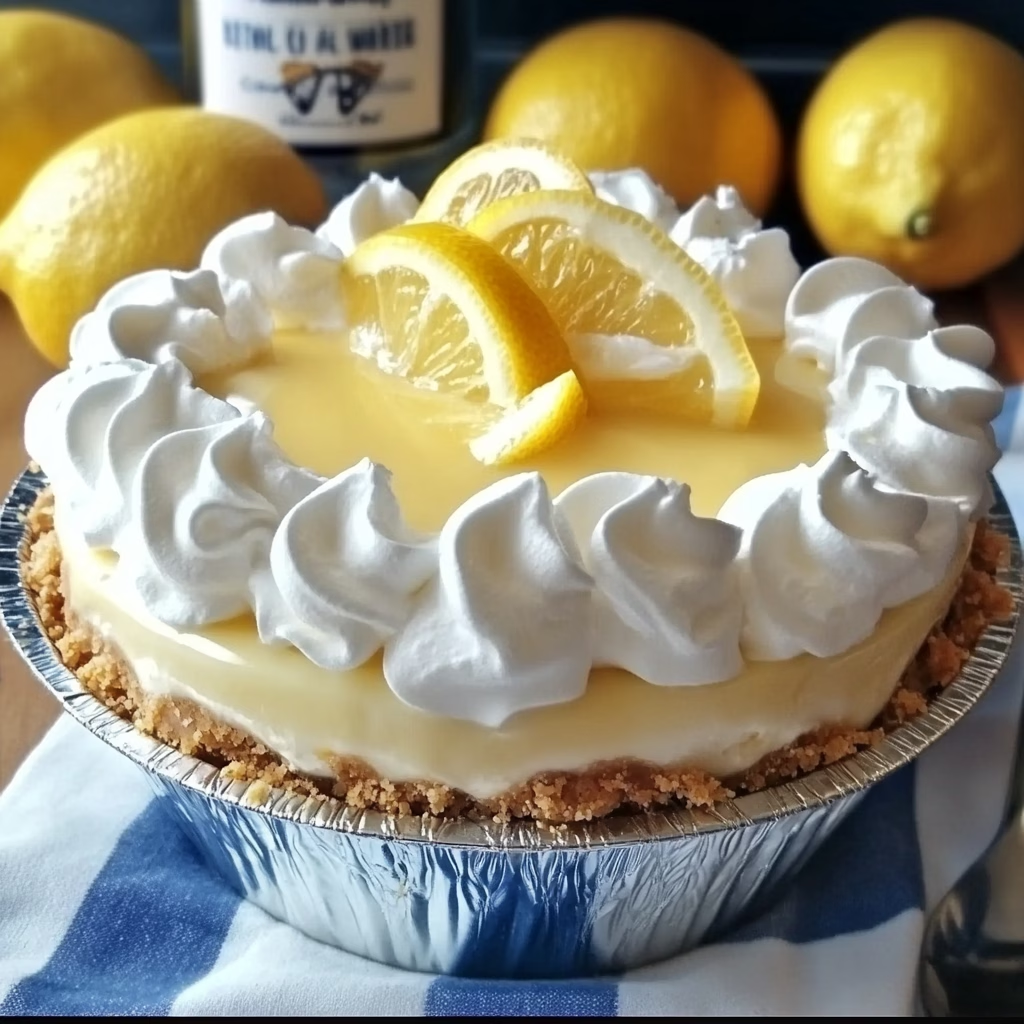
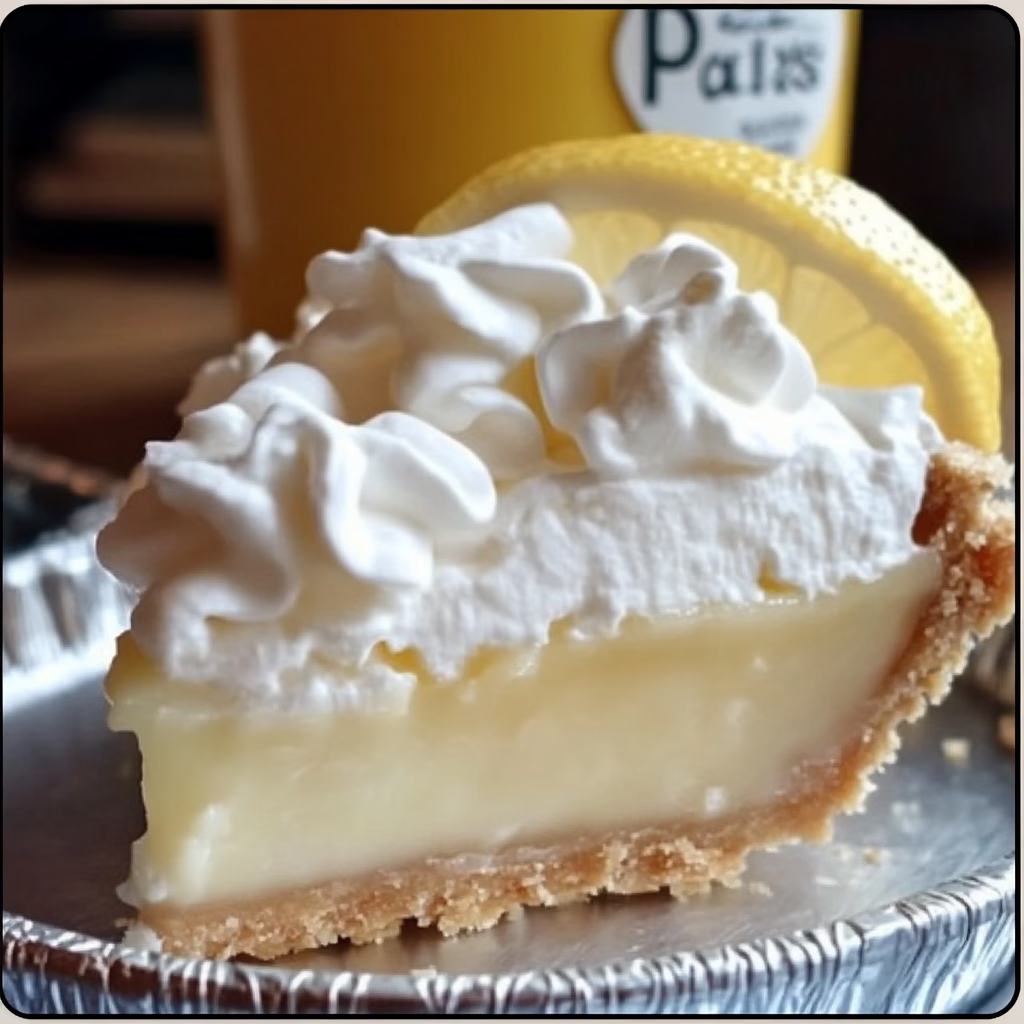
Imagine a buttery graham cracker crust holding a cloud-like lemon filling that’s both creamy and tangy. Each bite is bright and refreshing, but also comforting—like a hug from the sun. Best of all, you don’t bake a thing, so you keep your kitchen cool and stress levels low.
Perfect for Any Occasion
This no-bake pie is so versatile. You can make it for a casual weeknight dessert, bring it to a potluck, or serve it at a fancy dinner. It looks impressive, tastes gourmet, and yet feels totally easy and approachable.
Ready in Under 30 Minutes (Plus Chill Time)
Hands-on time is under half an hour. After that, you just pop it in the fridge and wait. I love recipes that let me get back to my day while the pie does its thing.
What You’ll Need to Make Easy No-Bake Lemon Pie
Gather everything before you start. You’ll feel organized and ready to go, and the process will feel like a breeze.
Ingredients for the Crust
- 1½ cups graham cracker crumbs (about 10 full crackers)
- ¼ cup granulated sugar
- 6 tablespoons unsalted butter, melted
Ingredients for the Lemon Filling
- 1 can (14 ounces) sweetened condensed milk
- ½ cup freshly squeezed lemon juice (about 3–4 lemons)
- 1 tablespoon lemon zest (finely grated peel)
- 1 teaspoon pure vanilla extract
- 1 cup heavy whipping cream, cold
Optional Garnishes
- Extra lemon slices or twists for a pretty top
- Whipped cream dollops around the edge
- Fresh berries like raspberries or blueberries for color
Tools You’ll Want
- 9-inch pie dish (glass or metal)
- Mixing bowls (one for crust, one for filling, one for whipped cream)
- Electric mixer (or a strong whisk and some elbow grease)
- Zester or fine grater
- Measuring cups and spoons
- Rubber spatula for gentle folding
Once you have everything lined up, this pie practically makes itself.
How to Make No-Bake Lemon Pie
I break it down into easy stages. Follow these steps, and you’ll see how simple it really is.
1. Prepare the Graham Cracker Crust
- Crush the crackers: Put graham crackers in a plastic bag and crush with a rolling pin, or blitz them in a food processor until fine crumbs form.
- Mix crumbs, sugar, and butter: In a bowl, stir the crumbs and sugar together. Pour the melted butter over them and mix until the crumbs look like wet sand.
- Press into pie dish: Scoop the mixture into your pie dish and press firmly with the back of a spoon or your fingers. Push up the sides a bit to form an even crust wall.
- Chill the crust: Pop the crust into the fridge while you make the filling. This helps it firm up and hold its shape.
2. Whip the Cream
- Chill your bowl and beaters: Wet a bit of cold water, wipe your bowl and mixer beaters, then chill them in the freezer for 5 minutes. Cold tools give you better peaks.
- Beat the cream: Pour the cold heavy cream into the chilled bowl. Start on low speed, then increase to medium-high.
- Watch for soft peaks: Stop when the cream holds a soft peak—when you lift the beaters, the tip of the cream curls over. Don’t go too far or it will turn grainy.
3. Make the Lemon Filling
- Combine the base: In a clean bowl, whisk together the sweetened condensed milk, lemon juice, lemon zest, and vanilla extract until smooth.
- Fold in whipped cream: Use a rubber spatula to gently fold the whipped cream into the condensed milk mixture. Aim to keep as much air in there as possible. The result should be light, fluffy, and pale yellow.
4. Assemble the Pie
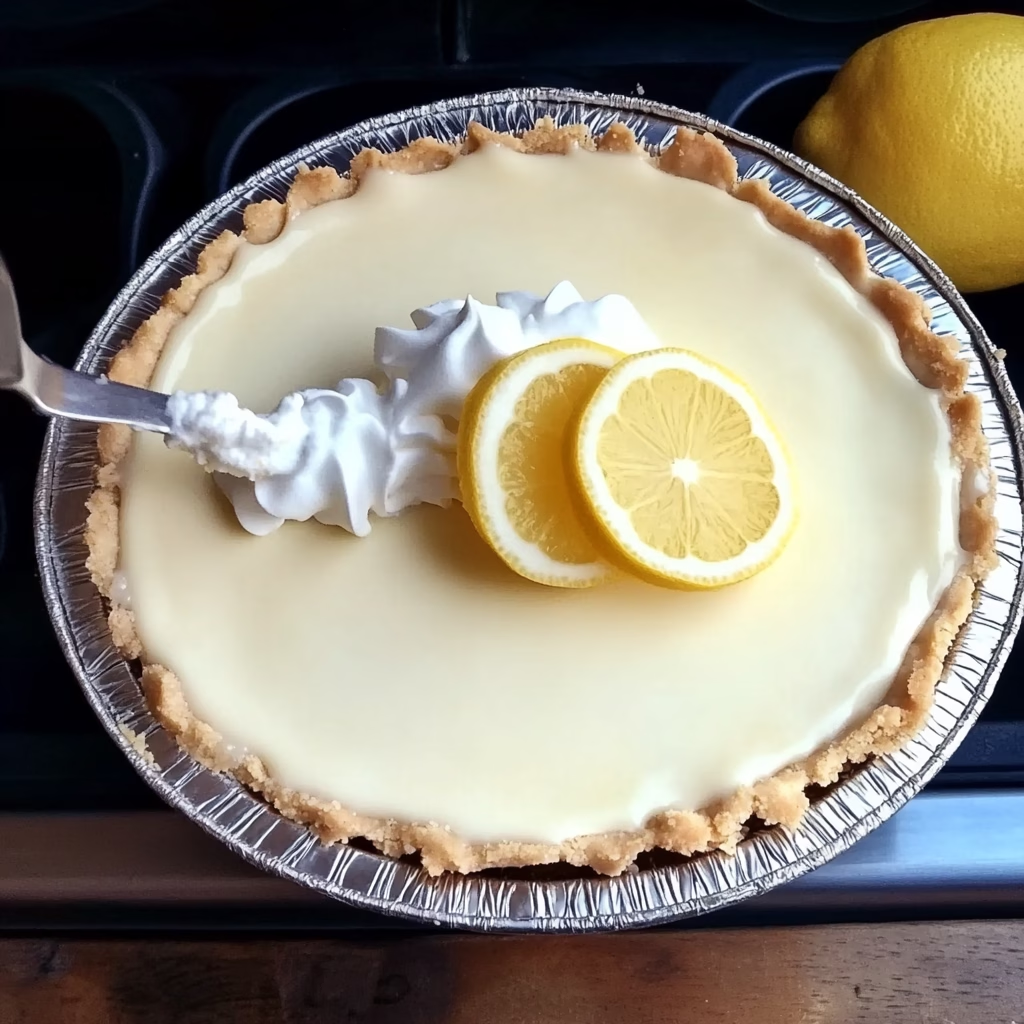
- Fill the crust: Remove your chilled crust from the fridge. Pour the lemon filling over it.
- Smooth the top: Use a spatula to level the filling, cleaning up any drips on the edge of the crust.
- Chill until set: Cover loosely with plastic wrap and refrigerate for at least 4 hours, or overnight if you can wait. The filling needs time to firm up and develop full flavor.
5. Garnish and Serve
- Add lemon twists: Just before serving, decorate with lemon slices or twists on top for that pretty, professional look.
- Pipe whipped cream: If you want a dollop of cream around each slice, pipe soft peaks of whipped cream around the edge.
- Slice and enjoy: Use a sharp knife dipped in hot water for clean cuts. Wipe the blade between slices to keep them neat.
My Top Tips for Perfect No-Bake Lemon Pie
Having made this pie dozens of times, I’ve picked up a few tricks that make it foolproof.
Always Fresh Juice and Zest
Fresh lemon juice and zest give you bright, tangy flavor that cans just can’t match. Roll your lemons on the counter for a minute with your palm—this makes them juicier when you squeeze.
Don’t Skip Chilling Steps
Chilling the crust and the assembled pie is key. If your crust isn’t firm, the filling can sag. If your pie doesn’t chill long enough, it won’t slice cleanly.
Whip Cream Just Right
Soft peaks are your goal. Underwhip and your pie will be soupy. Overwhip and your filling will be stiff and grainy. Practice makes perfect!
Keep Everything Cold
Work in a cool kitchen if you can. Heat makes whipped cream deflate faster. If it’s hot in your house, chill your equipment well and refrigerate the pie sooner.
Cut Neat Slices
Run your knife under hot water between cuts. Wipe it clean, then slice. This simple trick gives you picture-perfect pieces.
More Recipes:
- Delightful Raspberry Swirl Shortbread Cookies You’ll Want to Bake Every Weekend!
- One Pan Cajun Dirty Orzo You’ll Keep Coming Back To!
- Lemon Vinaigrette Recipe: A Little Jar of Sunshine for Your Salad
- Healthy Greek Chicken Bowls That Taste Like a Vacation
- Brown Sugar Shaken Espresso Overnight Oats You’ll Dream About
- Country Fried Chicken 🍗✨: Crispy, Juicy, and Absolutely Worth the Mess
- Grilled Chicken and Broccoli Bowls: Creamy, Cozy, and Packed with Flavor
Fun Variations to Try
Want to play around? Here are some of my favorite tweaks that keep the base recipe but add new twists.
Coconut Lemon Pie
- Press a mix of graham crumbs and shredded coconut for the crust.
- Top with toasted coconut flakes.
- You get a tropical vibe that pairs so well with lemon.
Berry Swirl Lemon Pie
- Before chilling, dollop spoonfuls of berry jam (strawberry or raspberry) on top of the lemon layer.
- Swirl gently with a knife.
- You get little bursts of berry in each bite.
Lime and Lemon Combo
- Replace half the lemon juice with lime juice, and half the lemon zest with lime zest.
- The lime adds a tart, refreshing pop that’s super fun.
Lavender Lemon Pie
- Steep a teaspoon of culinary lavender in the condensed milk for 10 minutes, then strain out the flowers.
- The floral note is unexpected and elegant—perfect for tea parties.
Graham Cracker Crust Swap
- Use crushed vanilla wafers, shortbread cookies, or even Oreo crumbs (just skip the sugar and butter portions accordingly).
- Different crumbs give you new textures and flavors.
How to Serve and Store Your Lemon Pie
Serving Ideas
- Chilled: Always serve cold. This pie tastes best when it’s just out of the fridge.
- Garnish: Fresh mint leaves, edible flowers, or a dusting of powdered sugar add color.
- Pairings: A cup of hot tea or a glass of sparkling water with mint makes the perfect combo.
Storage Tips
- Refrigerator: Store covered tightly with plastic wrap for up to 4 days. The crust might soften slightly after that, but it’s still delicious.
- Freezer: You can freeze slices wrapped in plastic for up to one month. Thaw overnight in the fridge before eating.
FAQs About No-Bake Lemon Pie
Can I Use Store-Bought Whipped Topping?
Yes! If you’re in a hurry, fold in thawed whipped topping instead of whipping cream. The texture will be slightly different—less airy—but still tasty.
What If My Filling Is Too Thin?
Make sure you’ve whipped the cream enough and folded it gently. Also, double-check that you’ve used the full amount of condensed milk; too little makes a runny pie.
Can I Make Mini Pies?
Absolutely! Divide the crust mix and filling among small tart pans or mason jars for individual servings. Chill the same way.
Is This Recipe Vegan?
Not as written. For a vegan version, use coconut condensed milk, coconut cream instead of heavy cream, and a vegan crust (like blended nuts and dates). The texture will be richer and denser.
How Tart Will It Be?
This pie is pleasantly tangy but balanced by sweetened condensed milk. If you like it extra lemony, add another teaspoon of zest. If you prefer milder, reduce the juice by a tablespoon.
A Little History of Lemon Pie
Lemon pie has been a cherished dessert for over a century. Early versions used simple lemon custard baked inside pastry, but home cooks quickly realized that the tangy custard could set up on its own without baking. By the 1930s, no-bake lemon pies made with condensed milk and whipped cream became popular in American cookbooks. They were fast, used few ingredients, and needed no oven—perfect for hot summer days. Today, this easy version brings that vintage charm into our modern kitchens.
Final Thoughts: Embrace the Sunshine on Your Plate
I hope this Easy No-Bake Lemon Pie recipe inspires you to keep your kitchen cool and your desserts bright. It’s the kind of recipe I make when I need a quick pick-me-up or when I want to impress friends without spending hours baking. Simple ingredients, no oven time, and a result that tastes like pure sunshine—that’s my idea of dessert perfection.
So grab your lemons, chill your tools, and let’s make a pie that’s as easy as it is delightful. And when you take that first tangy bite, let me know—you’ll probably find yourself smiling, too. Enjoy!

🍋 Easy No-Bake Lemon Pie
Ingredients
Graham Cracker Crust
- 1½ cups graham cracker crumbs about 10 full crackers
- ¼ cup granulated sugar
- 6 tablespoons unsalted butter melted
Lemon Filling
- 1 can 14 oz sweetened condensed milk
- ½ cup fresh lemon juice about 3–4 lemons
- 1 tablespoon lemon zest
- 1 teaspoon vanilla extract
- 1 cup cold heavy whipping cream
Optional Garnishes
- Lemon slices or twists
- Whipped cream
- Fresh berries raspberries or blueberries
Instructions
- Prepare the Crust
- Crush the graham crackers into fine crumbs using a food processor or rolling pin. Mix crumbs, sugar, and melted butter in a bowl until it resembles wet sand. Press firmly into a 9-inch pie dish, forming an even crust. Chill in the fridge.
- Whip the Cream
- Chill your bowl and beaters in the freezer for 5 minutes. Pour in the cold cream and whip on medium-high until soft peaks form. Set aside.
- Make the Lemon Filling
- In another bowl, whisk together sweetened condensed milk, lemon juice, zest, and vanilla until smooth. Gently fold in the whipped cream using a rubber spatula—don’t deflate the mixture.
- Assemble the Pie
- Pour the lemon filling into the chilled crust. Smooth the top and cover loosely with plastic wrap. Refrigerate for at least 4 hours or overnight until set.
- Garnish & Serve
- Top with lemon slices, whipped cream, or fresh berries. For neat slices, dip a sharp knife in hot water and wipe between cuts. Serve chilled and enjoy!
Notes
- Use fresh lemons for the best flavor.
- Chill your tools before whipping cream.
- Fold gently to keep the filling airy.
- Don’t skip chilling time—it’s key for clean slices.